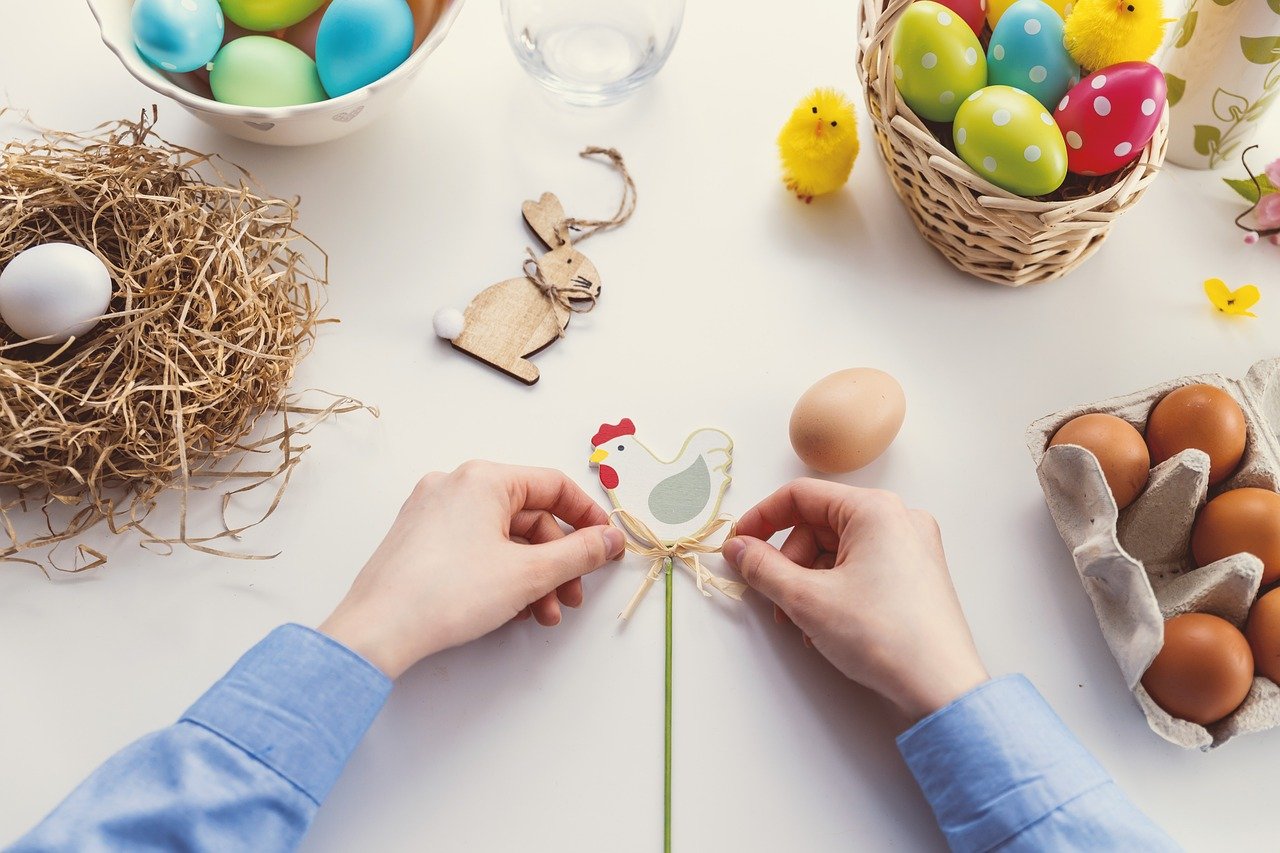
Decorating chocolate Easter eggs is a fun, creative, easy and affordable activity for the whole family. And it’s one of those activities you can make as easy or complex as needed — depending on the ages of the people joining in and how next-level you feel like taking it!
The history of decorating eggs at Easter is deeply entrenched in some cultures. You might be familiar with the intricate and beautiful designs on Ukrainian Easter Eggs or “pysanky,” in the native language.
A long time ago, Ukrainian Easter eggs were much more than decorative objects or crafts for the holidays. They were imbued with special powers that “warded off evil, encouraged marriage and fertility, ensured good harvests and milk or honey production, and protected the household from disaster.” The decorated eggs were offered as gifts that brought good fortune.
These eggs were dyed with natural colors from beets, onions, bark and herbs. Creators also applied wax to divide the colors from one other, and a single egg could take days to complete. Over time, the art developed and spread across Europe. Today, some of the designs are hard to believe!
Today, people love decorating eggs of all kinds in the days leading up to Easter. These eggs can be put on display, enjoyed on the spot or saved to hide during an Easter egg hunt.
We’re going to offer some of our favorite chocolate egg-making and decorating ideas. These are just suggestions and we encourage you to be as dramatic, creative and fun with your chocolate Easter eggs as possible.
Chocolate Egg-making and Decorating Ideas
First, decide whether you are going to make or buy your chocolate eggs. Either is fine and depends on how much time you have. If you buy chocolate eggs, we suggest you look for a plain variety the same size as a real egg or larger. These are less fragile and have a large enough surface area to really have some fun with.
If you are planning to make chocolate eggs from scratch, all you need is some good quality chocolate and an egg mold. Here’s how:
- Break or chop the chocolate into chunks and melt in a double boiler (or microwave if you’re in a pinch).
- Carefully pour the chocolate into the mold and tip it around so that the chocolate is evenly distributed and creates a thin (but not too thin) layer.
- Gently tap the mold to release any air bubbles.
- Let set approximately 15 minutes.
- Repeat the process with the second half of the mold.
- Carefully release the chocolates from their molds.
- Brush melted chocolate around the rim of one egg half, and gently press the second half to it.
- Let set.
- Decorate!
One great thing about making your own homemade chocolate eggs is that you can fill them with candy before you press the egg halves together. Think Smarties, Skittles, mini eggs — any candy will do!
Now that your eggs are ready to go, it’s time to prepare for decorating the outside. This is the really fun part.
Of course, the sky is the limit when it comes to decorating chocolate Easter eggs. To make it easier, think about what you need beforehand, prep the supplies and place them in small bowls.
These are favorite ingredients to have on hand:
- Sprinkles — an assortment of colors
- Rice Krispies
- Crushed toffee/Skor bars
- Mini marshmallows
- Icing — you can start with white and add food coloring for an assortment of fun springtime pastel colors.
Icing Tips
- Icing tip: A plastic sandwich bag with one corner snipped off makes for an easy-to-handle and affordable piping bag.
- Icing tip: Tykes might deal best with a clean paintbrush.
- Icing tip: Drizzle spoonfuls of icing across the eggs for beautiful designs.
This list is not exhaustive at all; a trip to a candy store or the baking aisle in the grocery store will give you plenty more ideas.
A small bowl of melted chocolate is great to have on hand in order to help the decorations stick to the eggs’ outer surface. You can also get creative and add non-edible decorations. For example, crack off part of the chocolate and add a toy chick, or add pretty ribbon and buttons for a more artistic showing.
Whatever ideas you come up with, it’s all about having fun and not taking it too seriously. If the outer surface cracks, patch it back together with melted chocolate, or make the hiccup part of the design!
Once the eggs are dry and set, you can make a little “nest” of pastel shredded paper inside a basket and put the creations on display.
Decorating chocolate Easter eggs is a great way to get the kids involved in a fun and one-of-a-kind arts and crafts project, and of course, they will love it because they can lick the chocolate spoons and snack along the way. Better yet, the end result is always very cute and something to be proud of.
If you want to take it a little more seriously, there are many ideas online on how to create a work of art. Think gold leaf, glazes and abstract icing designs. These gorgeous creations make perfect gifts if you are visiting friends or family at Easter.
Whatever route you take, we hope you have fun with this little project. If it is your first time making chocolate eggs from scratch, be patient — you’ll get it on your second or third try! Maybe decorating chocolate eggs can become part of your annual holiday tradition. Hide them, admire them and most of all — enjoy them! If you want to order custom chocolate for Easter, please order online.
